Why I still teach OpenGL ES 3.0
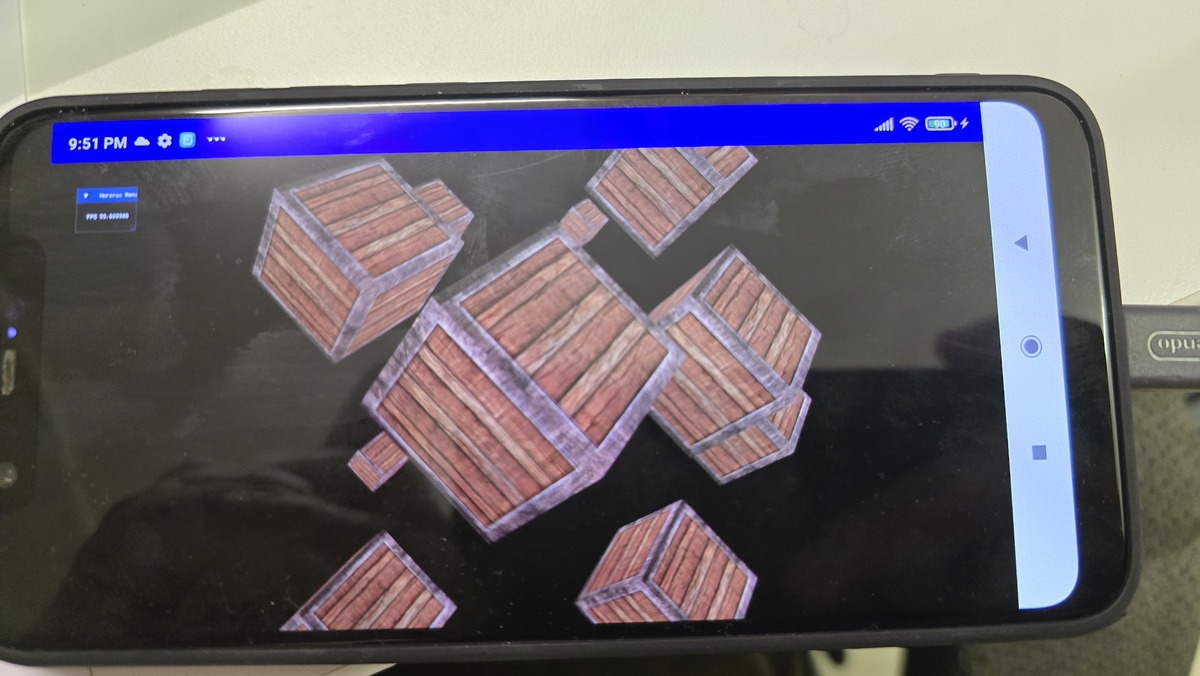
Little C++ OpenGL ES 3.0 sample compiled to the web with emscripten
Introduction
It’s been a few years that I have been giving this Introduction to Computer Graphics module (a trimester) at SAE Institute Geneva and I have always been wondering if and when I would need to transition my course from OpenGL ES 3.0 to more modern API.
Back in November, I was at the Graphics Programming Conference (my blog post here), and this subject reemerged for me during the conversations with people from the industry as well as from the talks. From the Teardown talk (all the conference’s talks are available on the website), the original game worked in OpenGL 3.3 and from the X-Plane talk, the rendering engine was using OpenGL 2.1. But both those talks were about how they transitioned to more modern API to have better graphics. This sounds like the sunset of OpenGL.
Two talks really caught my attention about education for Computer Graphics: the talk Bridging Pixels and Code: Teaching Computer Graphics to Technical Artists from Matthieu Delaere that focus on students creating their own rasterizer from scratch and the talk from Mike Shah that focuses on the next steps after the tutorial. The latter talk actually made me think about if the actual idea to do the transition to modern API for my course made still sense.
What have to be taken into account for a transition is that all the courses need to be translated to this new API/framework and updated depending on the new concept added. So if there is a transition to be made, it needs to be really worth it compare to OpenGL ES 3.0.
The course content
The goal of the introduction in computer graphics module is for the students to implement a 3d scene with a graphics API. What is important to understand is that they should not implement a generic 3d renderer, but specifically a 3d scene, so the final executable is not supposed to be data-driven. For example, it would be completely ok to have such implementation:
void DrawScene(const Pipeline& pipeline, const Camera& camera)
{
  //Cull the scene from the camera POV

  //Draw each 3d object by hand

}
Since when I started to give this module, I have been following the learnopengl.com structure but using OpenGL ES 3.0 instead. Each chapter is like a list of samples that have to be implemented and tested (Hello Triangle, Hello Texture, etc…)
But why specifically this version of OpenGL? OpenGL ES 3.0 is a mobile graphics API, released in August 2012, so about 14 years ago (which is a LONG time in computer graphics). I chose it because it is the most cross-platform version of OpenGL in my opinion, with this version you can run the same C++ program (with some #ifdef) and the same shaders for:
- Windows: while I encountered some driver issues throughout the year, OpenGL ES 3.0 is compatible with OpenGL 4.3, so I just assume OpenGL 4.3 on Windows not to worry.
- Linux: some of my workstations boot on Linux by default, and it is good practice to compile the same C++ code with another compiler.
- Android: this one is a bit complicated as the actual android app boots from Java and calls the native lib containing the code.
- Nintendo Switch: we have two devkits at school and except removing glew or glad and replacing it with the embedding OpenGL wrapper, it works fine.
- WebGL2: my favorite reason of using OpenGL ES 3.0 is that it is compatible with WebGL2 with emscripten (except float color attachment that is an extension…), which allows my students to port their samples to their own website/blog. It is the case with this blog post where I simply put the demo out of emscripten on the web page.
- iOS or MacOSX: unfortunately not supported anymore, but none of my students work on a Mac as this is a Games Programming bachelor.
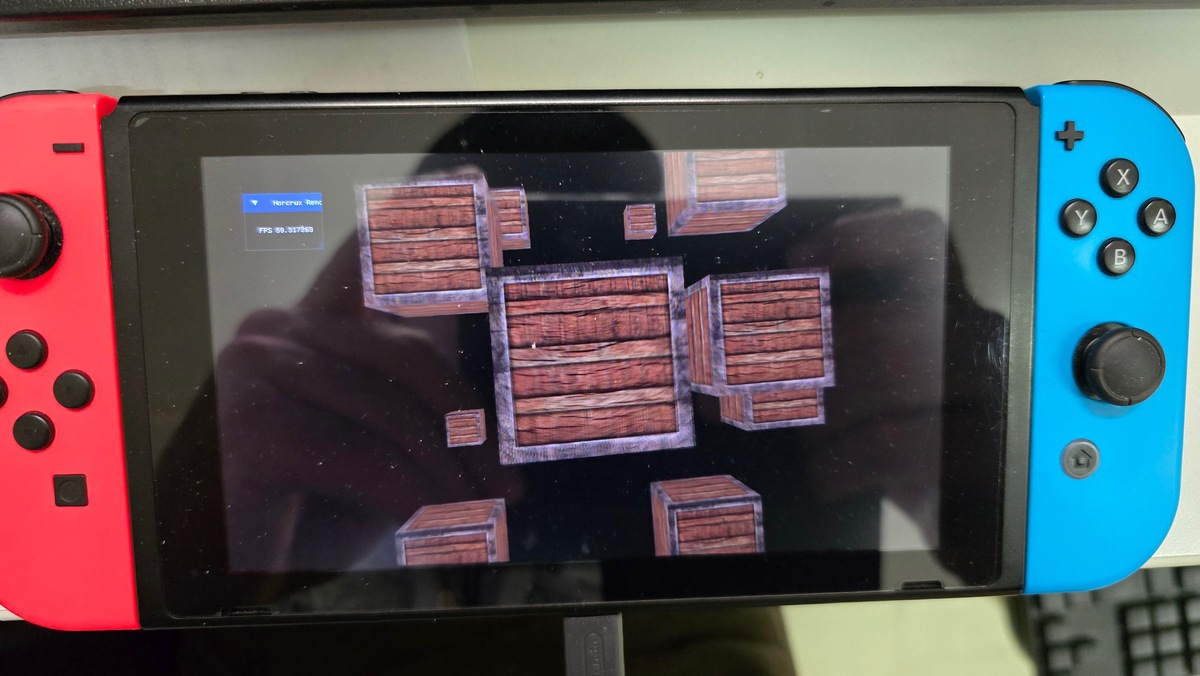
The same demo but running on the Switch
Compare to more modern API, synchronization is taken care of by the driver in OpenGL. This allows to skip most of the setup of a lot of boilerplate initialization. This is nice, but is paid with the cost of the driver overhead added for this.
However, one of the hassles of the first course is having the students’ laptop chooses the wrong GPU on laptop (using the Intel integrated GPU instead of the Nvidia GPU). Last year, you just needed to set the whole Nvidia configuration to be on “Performant” mode, but with a new Windows update, you need to set individually the application that is to be performant in the Windows settings, not the Nvidia settings anymore. Also, there is this trick for Windows:
#ifdef __cplusplus
extern "C" {
#endif

__declspec(dllexport) DWORD NvOptimusEnablement = 1;
__declspec(dllexport) int AmdPowerXpressRequestHighPerformance = 1;

#ifdef __cplusplus
}
#endif
And this (supposedely) enables the discrete GPU and not the integrated one (I am happy this is a solved problem in modern API like Vulkan). Let’s see how we tackle other subjects!
Core concepts
Every week, the students need to finish about 2-3 samples on a specific feature (for example: implement a sample that uses SSAO using the previous idea from the deferred rendering sample). When working on their samples, the students usually start to build their own abstractions. This year, we decided to work together and build the abstraction in a common git repository such that those abstraction could be used by all the students of the class as soon as it was implemented. This is something that I want to continue in the next years.
Pipeline
I really dislike OpenGL naming… Pipelines are called program, so when my students comes from learnopengl.com, they name their pipelines shaderProgram. Anyway, we created an abstraction called Pipeline that loads with a vertex shader and a fragment shader (also a specific abstraction) that looks like this:
class Shader
{
public:
//shader target being GL_VERTEX_SHADER or GL_FRAGMENT_SHADER
    void Load(std::string_view path, GLenum shader_target);
//[...]

class Pipeline
{
public:
    void Load(const Shader& vertex_shader, const Shader& fragment_shader);
//[...]
Shaders are “compiled” with glslangValidator that I configure with CMake. This allows to check for syntax errors during compile-time instead of seeing a weird error in the run-time compilation of the glsl shader by the driver.
Because of OpenGL implementation of uniform buffer, we added a bunch of function to set those uniforms and to retrieve the uniform locations (and cache them for future retrieval):
class Pipeline
{
public:
    //[...]
    void SetInt(std::string_view uniform_name, int new_value);
    void SetFloat(std::string_view uniform_name, float new_value);
    template<typename T>
    requires core::IsVector3<T, float>
    void SetVec3(const std::string_view uniform_name, const T& v) {
        const GLint loc = GetUniformLocation(uniform_name);
        glUniform3f(loc, v.x, v.y, v.z);
    }
private:
    GLint GetUniformLocation(std::string_view name);
    std::unordered_map<std::string, GLint, StringHash, StringEqual> uniform_location_map_;
Several things to unpack here:
SetVec3uses the conceptIsVector3that check if the type has the three attributes x, y, z at the correct type.StringHashandStringEqualallows the use ofstd::string_viewwithout the need to create astd::stringwhen trying to find a uniform location in the map.
Vertex inputs
One of the weird thing for me going into OpenGL is how memory is allocated (the glGen, glBind, and then upload the data and probably uplaod at the same time). For example, for a vertex input buffer:
int vbo_;
glGenBuffers(vboCount, &vbo_);
glBindBuffer(GL_ARRAY_BUFFER, vbo_);
glBufferData(GL_ARRAY_BUFFER, vertex_buffer.size, vertex_buffer.data, GL_STATIC_DRAW);
For vertex inputs, you have those buffers that are to be setup in a Vertex Array Object, sort of like a container of vertex buffers, to define how the pipeline is going to read the vertex buffers, with something like this:
int vao_;
glGenVertexArrays(1, &vao_);
glBindVertexArray(vao_);

glBindBuffer(GL_ARRAY_BUFFER, vbo_);

glVertexAttribPointer(
  vertex_input_location, // in the shader (location = 0)
  vertexAttribData.size, // how many of the primitive: float => 1, vec2 => 2, vec3 => 3, vec4 => 4
  vertexAttribData.type,
  GL_FALSE,
		vertexAttribData.stride,
		(void*)vertexAttribData.offset);
glEnableVertexAttribArray(vertexAttribData.index);
//when using instancing
glVertexDivisor(vertexAttribData.index, 1);
All this is abstracted in the VertexInput class with the Buffer abstraction:
template<GLenum target>
class Buffer {
public:
  void Bind() const;
  void Load();
  /**
   * @brief Allocate and upload the data in the buffer
   */

  template<typename T>
  void UploadRange(std::span<const T> range, GLenum usage = GL_STATIC_DRAW);
  /**
   * @brief Update the data in the buffer (to be used after using UploadRange
   */
  template <typename T>
  void UpdateRange(std::span<const T> range, GLintptr offset = 0, GLenum usage = GL_STATIC_DRAW);
};

using VertexBuffer = Buffer<GL_ARRAY_BUFFER>;
using IndexBuffer = Buffer<GL_ELEMENT_ARRAY_BUFFER>;

struct VertexBufferAttribute {
  GLuint location;
  GLint size;
  GLenum type;
  GLsizei stride;
  size_t offset;
  bool is_instanced = false;
};

class VertexInput {
 public:
  void Load();
  void BindVertexBuffer(const VertexBuffer& vbo, std::span<const VertexBufferAttribute> attributes);
  void BindIndexBuffer(const IndexBuffer& ebo);
  void Bind();
};
VertexBufferAttribute::is_instancedallows Buffer to be binded as per instance buffer as we don’t have support for SSBO in OpenGL ES 3.0 (section below).
Textures
The logic for texture in OpenGL is counter-intuitive. One has to understand the difference between texture name (the handle given by glGenTextures) and the texture unit (GL_TEXTURE0 for example). It confuses a lot of my students each year. So binding a texture to a uniform sample looks like this:
glUniform1i(uniform_location, 0);
glActiveTexture(GL_TEXTURE0);
glBindTexture(GL_TEXTURE2D, my_texture);
This is put in a function in the pipeline to look this:
pipeline_.SetTexture("uniform_name", my_texture, 0);

//with implementation looking like this:
void Pipeline::SetTexture(std::string_view uniform_name, const Texture& texture, int texture_unit)
{
    const auto uniformLocation = GetUniformLocation(uniformName);
    glUniform1i(uniformLocation, textureUnit);
    glActiveTexture(GL_TEXTURE0 + textureUnit);
    texture.Bind();
}
For loading, in the beginning of the module, we start with stb_image to load JPG, PNG, BMP, etc… This header-only library decompresses the images such that we can upload them to the GPU, something that looks like this:
image.pixels = stbi_load(imagePath.data(), &image.width, &image.height, &image.comp, 0);

glGenTextures(1, &my_texture);
glBindTexture(GL_TEXTURE2D, name_);
switch (image.comp)
	{
	case 3:
		glTexImage2D(GL_TEXTURE2D,
      0, GL_RGB, image.width, image.height,
      0, GL_RGB, GL_UNSIGNED_BYTE, image.pixels);
		break;
	case 4:
		glTexImage2D(GL_TEXTURE2D,
      0, GL_RGBA, image.width, image.height,
      0, GL_RGBA, GL_UNSIGNED_BYTE, image.pixels);
		break;
All this is course hidden in a Texture abstraction with Load and Bind. Then for cubemaps, we add:
class Texture
{
  public:
  //[...]
  void LoadCubemaps(std::span<const std::string_view, 6> paths);
}
The Texture holds the “target” (GL_TEXTURE2D or GL_TEXTURE_CUBE_MAP, why not texture3d?) and then the Bind will bind the correct target.
Model Loading
We use Assimp as it simplifies the setup of the loading of 3d models and also allows to import and export in a lot of different formats. This would look like this:
void Model::LoadModel(std::string_view path)
{
  Assimp::Importer importer;
  scene = importer.ReadFile(path.data(),
                                aiProcess_Triangulate | aiProcess_FlipUVs |
                                aiProcess_GenNormals |
                                aiProcess_CalcTangentSpace);

  if (!scene || scene->mFlags & AI_SCENE_FLAGS_INCOMPLETE || !scene->mRootNode)
  {
      ...
  }
  ProcessNode(scene->mRootNode, scene);
}

void Model::ProcessNode(aiNode* node, const aiScene* scene)
{
    // process all the node's meshes (if any)
    for (unsigned int i = 0; i < node->mNumMeshes; i++)
    {
        aiMesh* mesh = scene->mMeshes[node->mMeshes[i]];
        meshes_.push_back(ProcessMesh(mesh, scene));
    }
    // then do the same for each of its children
    for (unsigned int i = 0; i < node->mNumChildren; i++)
    {
        ProcessNode(node->mChildren[i], scene);
    }
}

Mesh Model::ProcessMesh(aiMesh* mesh, const aiScene* scene)
{
  // Processing the meshes
It is also used in the same way in learnopengl.com, so the students can have a working implementation to check when they encounter a mistake.
Draw commands
In OpenGL, the driver is adding our commands into its own command buffer. This forbids multi-threading draw commands generation (compare to more modern API) and it gives this feeling that drawing happens immediately. Because of learnopengl.com, most of my students put their draw call in the Mesh contained in their Model. So it looks like this:
void Model::Draw(const Pipeline& pipeline)
{
  pipeline.Bind();
  for(auto& mesh: meshes)
  {
    mesh.Draw(pipeline);
  }
}

void Mesh::Draw(const Pipeline& pipeline)
{
  material_.Bind(pipeline); //binding all textures to their samples
  glDrawElements(GL_TRIANGLES, indices_count, GL_UNSIGNED_INT, nullptr);
  //or depending on the abstraction
  vao_.Draw();
}
After working on my computer graphics editor (I wrote a blog post here), I really prefer a separated approach where a scene has materials (pipeline + texture reference) and meshes, and that models do not exist as scene abstraction. However again, it is not about making a data-driven renderer, but just implement a 3d scene.
Render passes & Framebuffer
Finally, the last big OpenGL core concept is about multi passes. The first half of the module is spent in one pass. Post-processing is the first example of multi-pass, where my students have to use a framebuffer to draw their scene, and then use another pipeline and the render targets as a sampled texture. The first example is several variations of post-processing (like grayscale, inversing the color). Setting a certain framebuffer in OpenGL is starting a new render pass (RenderDoc will usually write it as Color Pass). With the students, we worked out an Framebuffer abstraction that use a FramebufferCreateInfo struct (very similar to Vulkan) with the color attachments and the depth color:
struct ColorAttachmentInfo {
  GLenum target = GL_TEXTURE_2D;
  GLint internal_format = GL_RGB8;
  bool is_active = false;
};

struct DepthAttachmentInfo {
  GLenum target = GL_TEXTURE_2D;
  GLenum internal_format = GL_DEPTH24_STENCIL8;
  bool is_active = false;
  bool is_rbo = true;
};

struct FramebufferCreateInfo {
  //OpenGL has maximum 16 color attachments
  std::array<ColorAttachmentInfo, 16> color_attachment_infos{};
  DepthAttachmentInfo depth_stencil_attachment_info{};
  core::Vec2I size{};
};

class Framebuffer
{
void Load(const FramebufferCreateInfo& info);
void Bind();
static void BindBackbuffer();
const Texture& color_attachments(int index);
const Texture& depth_attachment();
};
- RBO (render buffer object, yet another type of buffers) is sort of like a GPU write-only kind of resource.
Usually, we want one or several color attachments as Texture and a depth-buffer as RBO, except for a shadow pass, where we want a depth-only pass (that outputs to a Texture).
A big step in using framebuffer in the module comes with the introduction to HDR (High-Dynamic Range), basically the fact that we can use color in a bigger range than [0 - 255]. One of such applications is deferred rendering and the creation of G-Buffer (Geometry Buffer that contains position, normals and baseColor for example) to minimize the amount of lighting calculation per pixel. So first, you render a color pass on a G-Buffer with several color attachments each containing important geometry value (position, normal, base color) and then there is a light pass where lighting is calculated per pixel. This technique see a huge performance improvement when drawing a lot of lights on the screen. With our abstraction, you just need to use a HDR type of internal format (for example GL_RGB16F).
Of course, not all monitor outputs HDR, so we need a way to go back to LDR (Low-Dynamic Range, [0 - 255]) and this is done at the end of the lighting pass fragment shader:
//Reinhard tonemapping
vec3 result = lighting / (lighting + vec3(1.0));
FragColor = vec4(result, 1.0);
Missing modern OpenGL features in ES 3.0
Using OpenGL ES 3.0 (to allow use of WebGL 2.0) has still a cost though. Some core concepts of modern rendering are explained in course content but not implemented (except if the students want to get rid of WebGL2 compatibility).
SSBO
As of OpenGL 4.3 and OpenGL ES 3.1, we can define shader storage buffer object. This is useful to remove the need to pass by the vertex inputs when doing instancing. Of course, we need to had another type of buffer that can be binded to an uniform. This would look like this:
//in C++
glBufferData(GL_SHADER_STORAGE_BUFFER, instancing_buffer.size, instancing_buffer.data, GL_DYNAMIC_DRAW);
glBindBufferBase(GL_SHADER_STORAGE_BUFFER, binding_point, ssbo);

//in shader
layout(std430, binding = 3) buffer layoutName
{
    vec4 data_SSBO[];
};

void main()
{
  vec4 instancing_data = data_SSBO[gl_InstanceID];
}
Compute shader
Compute shader only appeared in OpenGL ES 3.1 (so not WebGL2). Coming back to the post-processing example explained before, instead of giving the color attachment of the scene as a sampler2D, we could give it as an image2D and actually do the post-processing in compute. Typically, every the-whole-screen kind of shader are easier to implement with a compute pipeline with a single shader, rather than a graphics pipeline with a plane in NDC (Normal Device Coordinate) going from [-1, 1] just to recover the whole screen in the vertex shader and implementing the transformation in the fragment shader.
SPIR-V
Starting with OpenGL 4.6 (not even available in OpenGL ES 3.2), we can load SPIR-V instead of plain text GLSL. This allow for quick loading of shader as the format is binary and it allows to add a compilation step to shaders (something we sort of do anyway with glslandValidator).
Bindless
Modern OpenGL desktop allows for “bindless” rendering where textures are not binded to a texture unit but can be referenced via a 64-bit handle stored in a buffer (enabling access to virtually an unlimited textures without expensive state changes) with the extension ARB_bindless_texture (supported on Nvidia and AMD, but not on Intel).
For buffers, ARB_buffer_storage (core in OpenGL 4.4 and as an extension EXT_buffer_storage since OpenGL ES 3.1) allows to keep the GPU pointer to enables persistent mapped buffers, avoiding repeated map/unmap cycles.
This is not available in OpenGL ES 3.0, so the workarounds are usually texture atlases or texture arrays, combined with batching (draw calls with different vertex inputs, but the same textures) to avoid the costly switch of textures.
Indirect Drawing
Another powerful feature that is unavailable in OpenGL ES 3.0 is indirect drawing. In our module, the CPU is issuing all the draw calls with glDrawArrays and glDrawElements or their instanced versions.
glDrawArraysIndirect and glDrawElementsIndirect are part of core since OpenGL 4.0 and OpenGL ES 3.1 allowing draw parameters to come from a GL_DRAW_INDIRECT_BUFFER. More power comes with Multi-Draw Indirect (core in OpenGL 4.3 and extension EXT_multi_draw_indirect since OpenGL ES 3.1), which allows through glMultiDrawArraysIndirect and glMultiDrawElementsIndirect calls to dispatch entire arrays of draw commands which combined with compute shaders that enables fully GPU-driven rendering pipelines where the GPU performs frustum culling, LOD selection, and occlusion culling. ARB_indirect_parameters allows even the draw count itself be GPU-determined.
Debugging
For my students, what used to be the most time they were spending was with RenderDoc. Now I see more students just using LLM to check their code and see what is wrong (even one of my students who said “they told me there was an error there”). However, the exam explicitly forbids LLM to solve, so my students still have to go through the debugging process by themselves if they want to pass.
Starting with OpenGL 4.3, KHR_debug is part of core and allows to have the driver sends error, warning, debug messages through a callback. As OpenGL 4.3 is fully compatible, I realized while writing this blog post that we could use it on Desktop to have better debug capabilities (registering OpenGL objects with glObjectLabel with a macro for example).
Missing features from Modern API
Sticking with OpenGL means also missing a lot about newer features of modern API like Vulkan and DX12. Of course, modern API are more than just features, they are also another mental model. But let’s focus on the features.
Raytracing
With all their marketing on RTX, Nvidia surely brought raytracing in every gamer’s mouth when talking about computer graphics. Of course, raytracing exists since before the advent of graphics card. However in 2018, DXR was released, allowing for hardware raytracing on the GPU using new kind of shaders (closest-hit, miss, raygen, etc…) and Vulkan followed with the Nvidia extension and then the generic extension.
Most games are still living in a hybrid rendering world where some parts are done in rasterization and some are done in raytracing, with custom options for players. In its State of GPU Hardware, Dmytro “Boolka” Bulatov mentions that only games like Indiana Jones and the Great Circle (released in late 2024) that puts DXR as a requirement. So for me, as a teacher, I still showcase the hardware raytracing API, its advantages and disadvantages, and how the future looks like, but as it is an introduction to computer graphics, I can’t ask all my students to have to implement a hardware raytracing pipeline.
Multithreaded rendering
When thinking about modern CPU architecture, we are living in a multi-core world now, but most of what we program in games is still happening in one thread on one core. To truly unlock the power of our CPU, we can divide our work between several threads. A common pattern is to have a threading model with Game/Cull/Render on the CPU, or having the loading done async and those still work with OpenGL.
However, certain games (like Halo Infinite) require the use of multiple threads to generate all the GPU commands. This is definitely possible with DX12 and Vulkan, but not in OpenGL where the render states are in the driver implementation in one thread.
The results
Here are some of the works of my students during this module over the years:
What about a framework?
I love SDL GPU API. I am currently porting my computer graphics editor to it, and it allows to target Vulkan, DirectX and Metal at the same time. However, there is still a bit of bloat for an introduction course for me to use SDL GPU. I heard some good things about bgfx also and raylib as well. WebGPU, on top of adding a new shader language, is very similar to Vulkan 1.0 that caused me more pain that joy.
When having students working on their samples and they do a mistake in OpenGL, it can often be pretty clear why there is a mistake, but facing a framework, the code of the library has also to be taken into account. And my goal is to teach them a graphics API and build abstractions on top of it.
Conclusion
OpenGL ES 3.0 has still a lot of advantages to be taught even in 2026 (especially WebGL2), at the cost of going through the struggle of the legacy of this API. 14 years is a lot of time in Computer Graphics. For example, at the end of his graphics API blog post, Adam Sawicki does not recommend OpenGL as a choice (as it is rarely used anymore).
This course has allowed throughout the years all of my students to discover how graphics programming work. For some of them, it was their first step in their computer graphics career and I am glad that I helped them in that. I want to write another blog post about why we are not yet switching to Vulkan (talking about synchronization, PSO, driver overhead), as I have a few things to say about this specific API. Don’t hesitate to comment on the social media or just send me an e-mail (I am interested to know how other teachers are doing and what people working in the industry want to see from graphics programming students). Here the rotating cubes demo running on Android: