CompGraphEditor First Version
I am teaching the Computer Graphics module at SAE Institute Geneva, where I teach my Games Programming students OpenGL ES 3.0. Their goal is to make a 3d scene by hand in C++ (using SDL2, glew, glm, etc…).
However, recently, I opened the course for more technical Game Art students who wanted to leard how a renderer is actually. I want them to write the shaders, play with the GPU resources, but I don’t want to require them to write a whole rendering engine in C++ (scripting is okay). Several solutions opened to me:
- Use an already created 3d engine (like Unity or Unreal), but then I would need to double the content of my current course with GLSL + wahtever the engine support
- Use Shadertoy, but while it is GLSL, it is not really about playing with the GPU resources rather than playing with maths.
- Do my own tool that I fully control
So I went with the third options, and this is how CompGraphEditor was born! I wanted to have an editor/launcher solution with abstraction for GPU resources in OpenGL. Here is how it works:
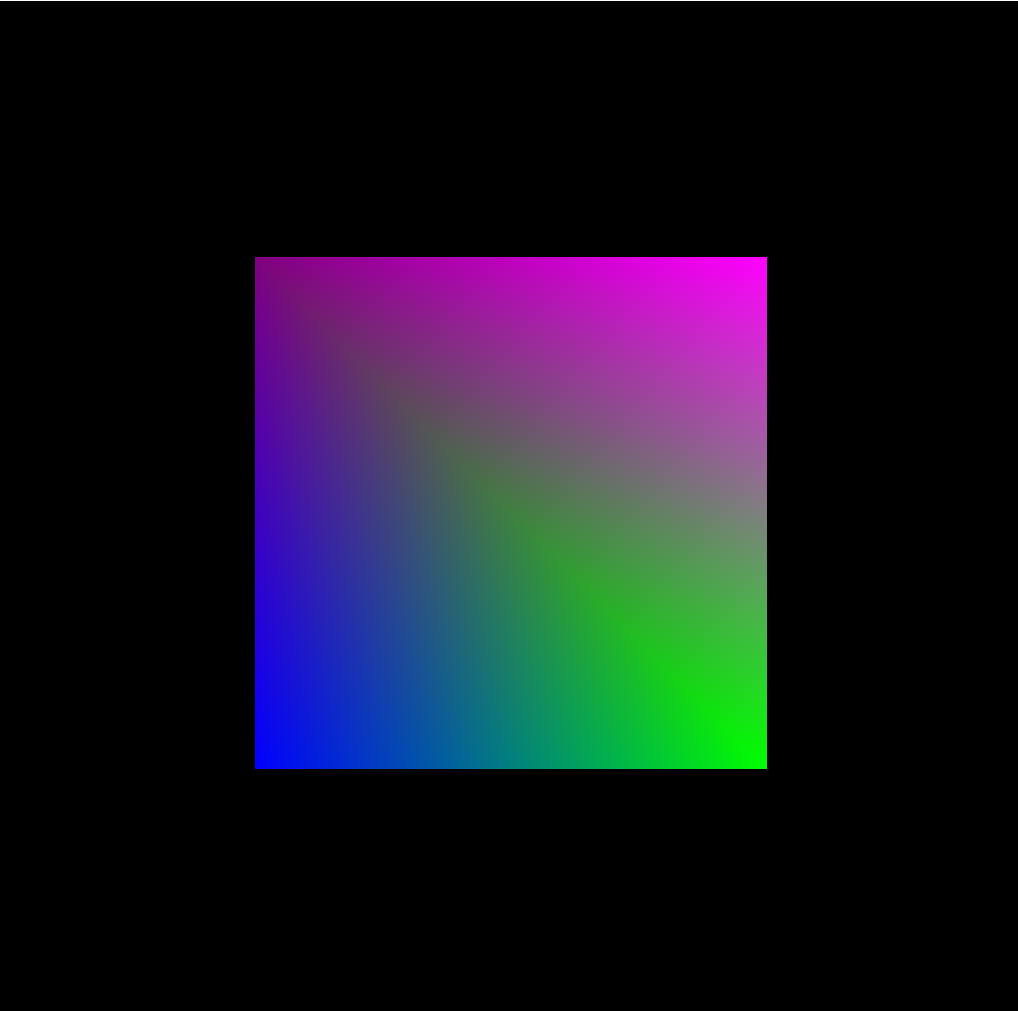
- The student create a scene (an abstraction that contains all the 3d resources to show a 3d scene).
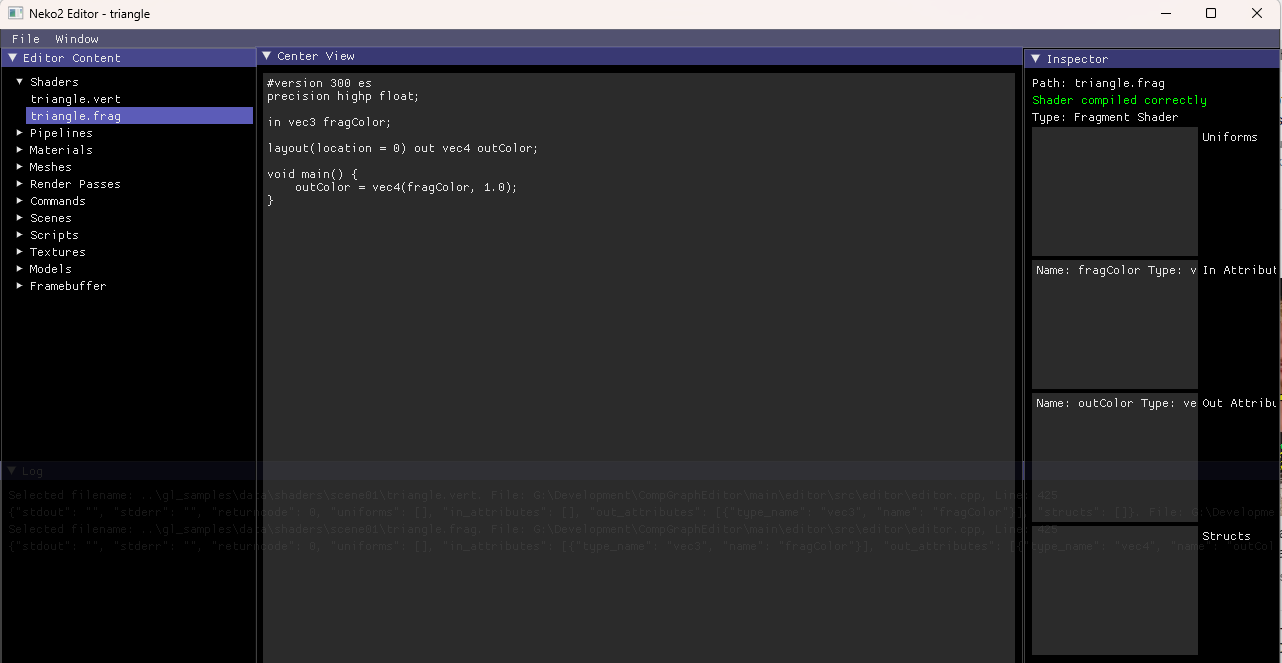 Shader editor
- The student imports shaders (they are compiled with glslangValidator as a validation compiler). The editor will parse the shaders to get all the following informations:
- Custom structs
- Inputs: for Neko2, the requirements for vertex input buffers are:
- position as vec3 at location 0,
- texCoords as vec2 at location 1,
- normals as vec3 at location 2,
- tangents as vec3 at location 3,
- bitangents as vec3 at location 4
It should look like:
  layout(location = 0) in vec3 inPosition;
  layout(location = 1) in vec2 inTexCoords;
  layout(location = 2) in vec3 inNormal;
  layout(location = 3) in vec3 inTangent;
  layout(location = 4) in vec3 inBitangent;
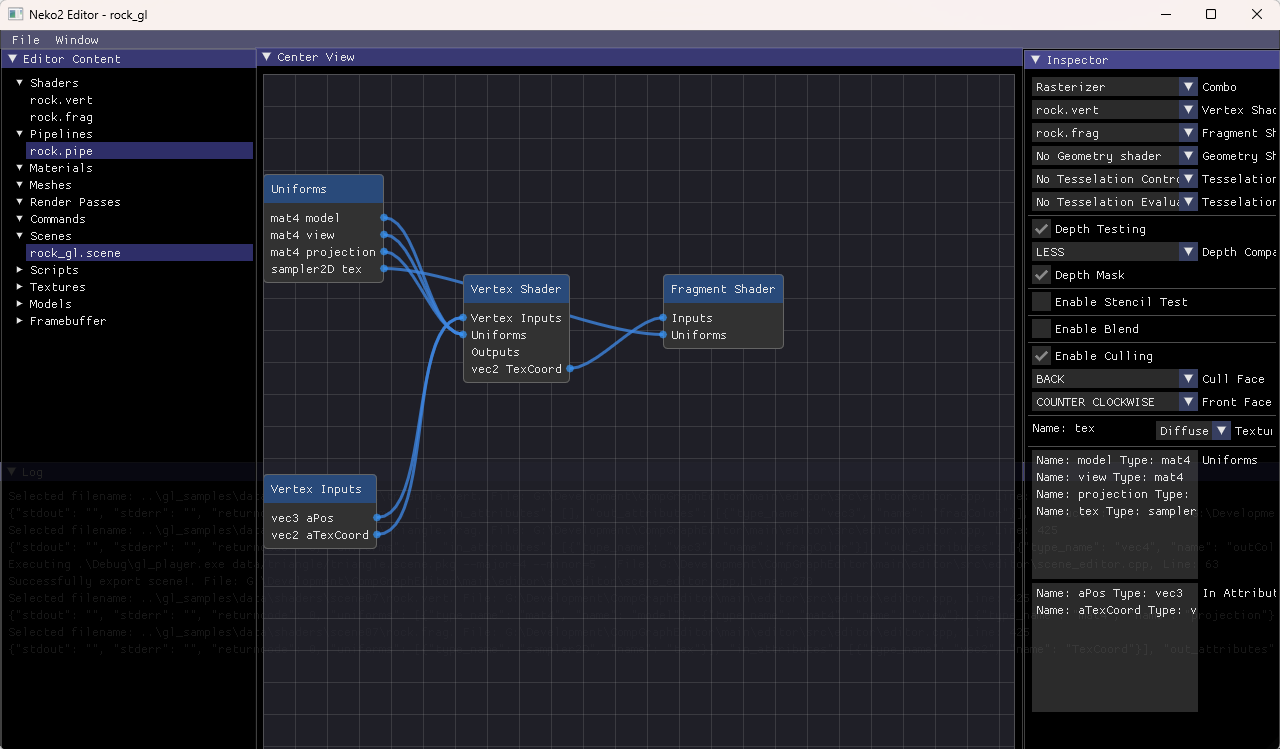 Pipeline editor
- The student creates a Pipeline (an abstraction that requires both a vertex and a fragment shader). They can configure depth testing, stencil testing, blending and back-face culling. For samplers, they can give a hint to the type of textures for the model (to allow for automatic binding).
- Textures can be imported as JPG, PNG, TGA, BMP, HDR. They can generate a cubemap file by giving the different file and it is saved in a .cube file. I am using stb_image to import the images.
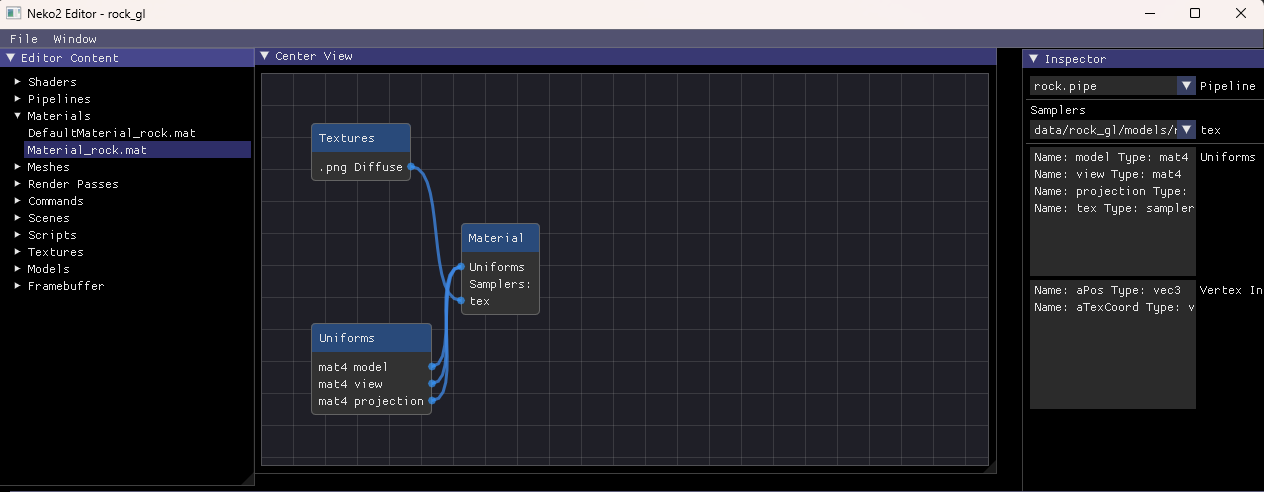 Material editor
- Material have a Pipeline as well as a list of Textures binded to the samplers from the pipeline. The student can also bind the render target from a Framebuffer.
- A Mesh is the abstraction for the Vertex Input Buffers. The supported primitives are Quad, Cube and Sphere. It can also be imported from a Model.
- A Draw Command binds a Material with a Mesh.
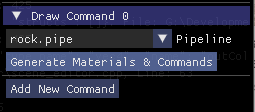
- A 3d Model can be imported from a file (I am using Assimp so the list of all the supported files can be found here). From the editor, the student can generate Materials and Draw Commands associated the Meshes of the 3d models, according to a specific Pipeline (it will automatically generate all the resources and automatically binds the textures from the 3d model materials following the given hints of the pipeline):
- Framebuffer contains several color attachments (0 to N) and a depth-stencil attachement. The default framebuffer is the backbuffer with one color attachment and one depth-stencil buffer.
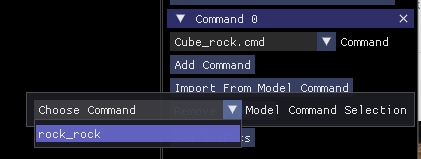
- A Renderpass contains one or more subpasses. Each subpass have a Framebuffer and a list of Draw Commands. When commands are generated from a Model and a Pipeline, the student can import all of them with the Import from Model Command button:
- A Script is either a Python or C++ System that can implement those methods:
- begin(): called at the beginning of the program
- update(dt:float): called before drawing
- end(): called at the end of the program
- draw(draw_command: DrawCommand): called when the OpenGL context is generating Draw Command. The student writing the Python script can edit a shader uniform (float, int, vec2, vec3, vec4, mat4) using the uniform name. It could look like this:
def draw(self, draw_command: DrawCommand): if draw_command.name == "CubeCommand": draw_command.bind() draw_command.set_mat4("model", model) draw_command.draw() - on_key_down
- on_key_up
- on_mouse_motion
- A Scene is the overall container with a Renderpass and a list of Scripts. The scene can export and play the scene with the player. The scene is exported as a uncompressed zip file that contains all the serialized resources. This allows for quick iterations.
We successfully managed to have a few Game Art students follow the course until the end of the module (3 months of course) for two years in a row, learning about all the different techniques used in rasterized real-time rendering, up to PBR. The Vulkan support is limited and Raytracing is barely working with a triangle example. I am very proud to have been able to arrive to the point where students could play with my slow and buggy editor.